VCF on VxRail Integration & Use-Cases Testing with VMC on AWS Blog Series – Part 5 (Last Part): Disaster Recovery (DR) to VMC on AWS
In part 1 of 5 parts blog series, I provided you with an overview & configuration of Hybrid Linked Mode between VMC SDDC Cloud vCenter and On-Premises VCF on VxRail.
In part 2 of 5 parts blog series, I provided you with step-by-step guide on Hybrid Cloud Extension (HCX) Deployment on ‘On-Premises’ & ‘VMC on AWS’
In part 3 of 5 parts blog series, I have gone through the Hybrid Cloud Extension (HCX) configuration.
In part 4 of 5 parts blog series, I have covered Live Migration to VMC on AWS.
In this last part 5 of this blog series, I will cover Disaster Recovery by protecting Virtual Machines with VMware HCX.
The HCX Disaster Recovery service, standard with HCX, replicates and protects virtual machines to a remote data center. The HCX Integration with the Site Recovery Manager service is available with Enterprise licensing.
HCX with SRM takes advantage of VMware HCX interconnect and network extension components for protection and recovery operations from the SRM interface. In this Blog, I will cover VMware HCX Disaster Recovery based on Virtual Machine replication-based protection. I am not using HCX integration with SRM.
VMware HCX Disaster Recovery is a service intended to protect virtual workloads managed by VMware vSphere that are either deployed in a private or a public cloud.
VMware HCX Disaster Recovery provides the following benefits:
-
Simple and easy to use the management platform that allows secure (enterprise to cloud and cloud to cloud) asynchronous replication and recovery of virtual machines.
- Reverse failover of workflows to your source site.
-
Self-service RPO settings from 5 minutes to 24 hours per virtual machine.
-
Multiple points in time recovery snapshots that allow you to recover back up to 24 previous replication point in time.
Prerequisites
-
Requires compute on a secondary site.
-
Enabled Interconnect services through VMware HCX.
- VMware HCX Disaster Recovery uses the IPsec tunnel established between sites as the data path for replications.
The VMware HCX virtual machine protection operation is used to configure the disaster recovery settings for a virtual machine, with specific remote site resources and recovery point objectives. Let us go through the procedure to protect a VM.
We will begin by logging into the On-Premises vCenter running on VCF on VxRail.
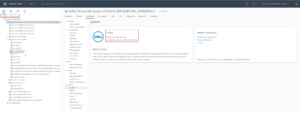
Access Hybrid Cloud Extension (HCX) services plugin from the Navigation Menu.
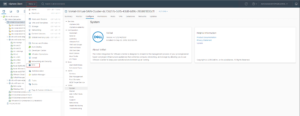
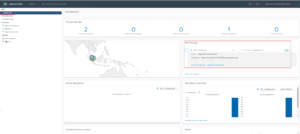
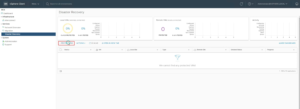
Before we protect a VM, we want to make sure we have paired Sites. Verify Site Pairing from HCX dashboard.
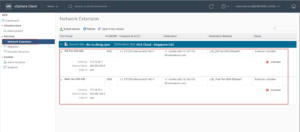
Verify L2 Network Stretched from ‘network Extension’ UI. Noticed the Status shows Network extension was successfully completed.
To start protecting a VM using Disaster Recovery, click on ‘Disaster Recovery’ UI.

Notice there is no protection configured for workload VMs at this time. You can Protect VMs on the Primary (Local) Site to a Secondary (Remote) site and, Protect VMs from Secondary (Local) site to the Primary (Remote) site.

Click on Protect VM
VM Replication to Destination Site screen will appear.
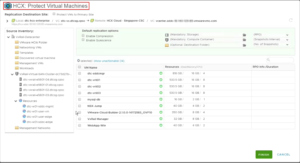
The left side shows the Source inventory (Local Site where plugin is installed).
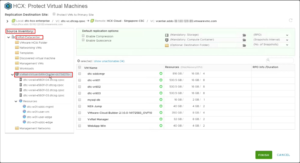
Check the checkbox to select the VM ‘mysql-db’. We will select this VM to Protect using HCX DR.

Select VM replication Policy options as needed.
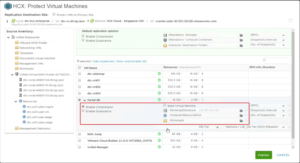
Select RPO as needed. RPO is the maximum targeted period in which data might be lost due to a major outage.
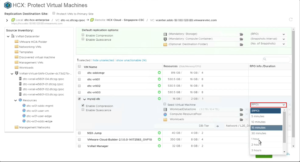
Select Snapshots Interval as needed. Here we establish multiple recovery options.
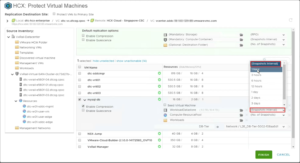
Select number of Snapshots as needed.
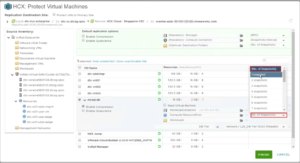
From the dropdown menu for HCX-Stretched-Network, scroll down and select Stretched L2E DB-Tier Network. This is the network that we Stretched and our workload VM is connected DB-Tier Network. 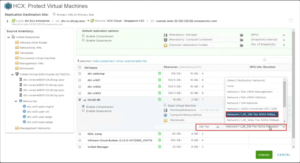
Verify the details and click on Finish.
Notice status shows DR Protection is configuring.
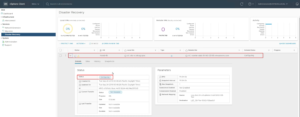
Protecting progress shows ‘Preparing Destination’.
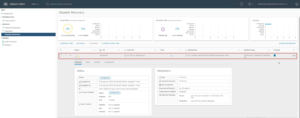
Status changed to ‘Syncing’ after ‘Protect’ task was completed.
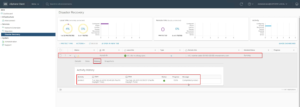
Syncing completed and VM is now in Active State. DR protection is active for this particular VM. This is represented by the green Shield.
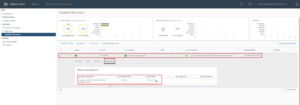
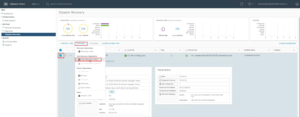
You can perform ‘Recovery’ operations by selecting VM and then clicking on ‘Actions’ menu.
Hope you enjoyed this post, I’d be very grateful if you’d help sharing it on Social Media. Thank you!
One Comment
Pingback: